The best discounts at the moment
Every week you can find the best discounts here.
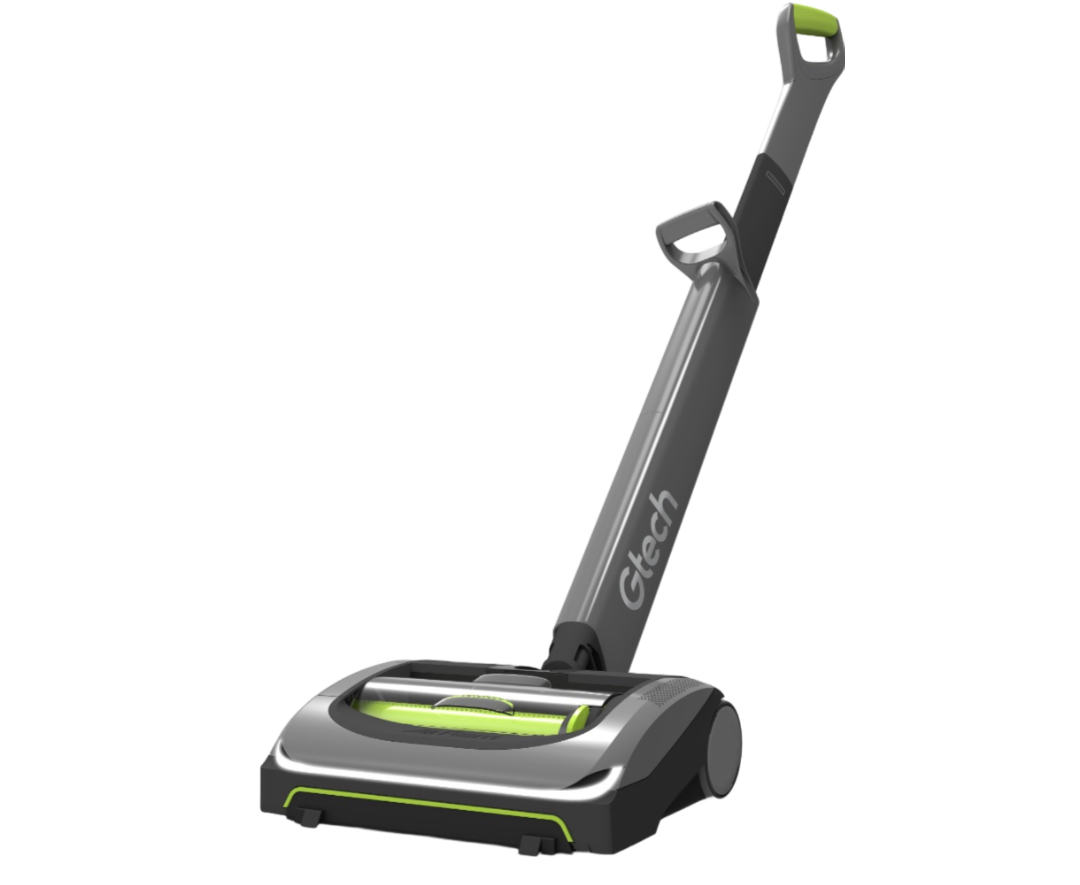
AirRam MK2 Cordless Vacuum
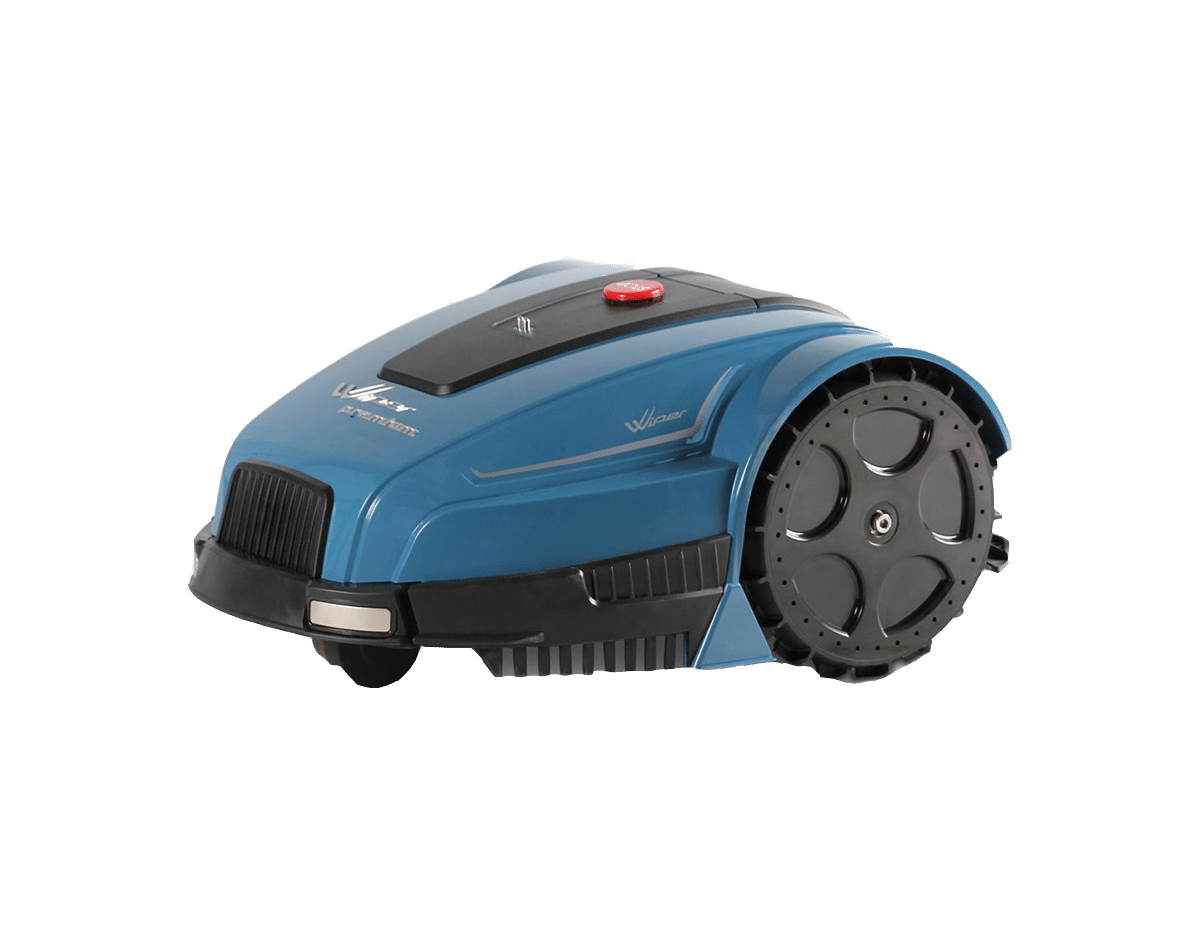
Wiper Q350 SR
Wiper C180S
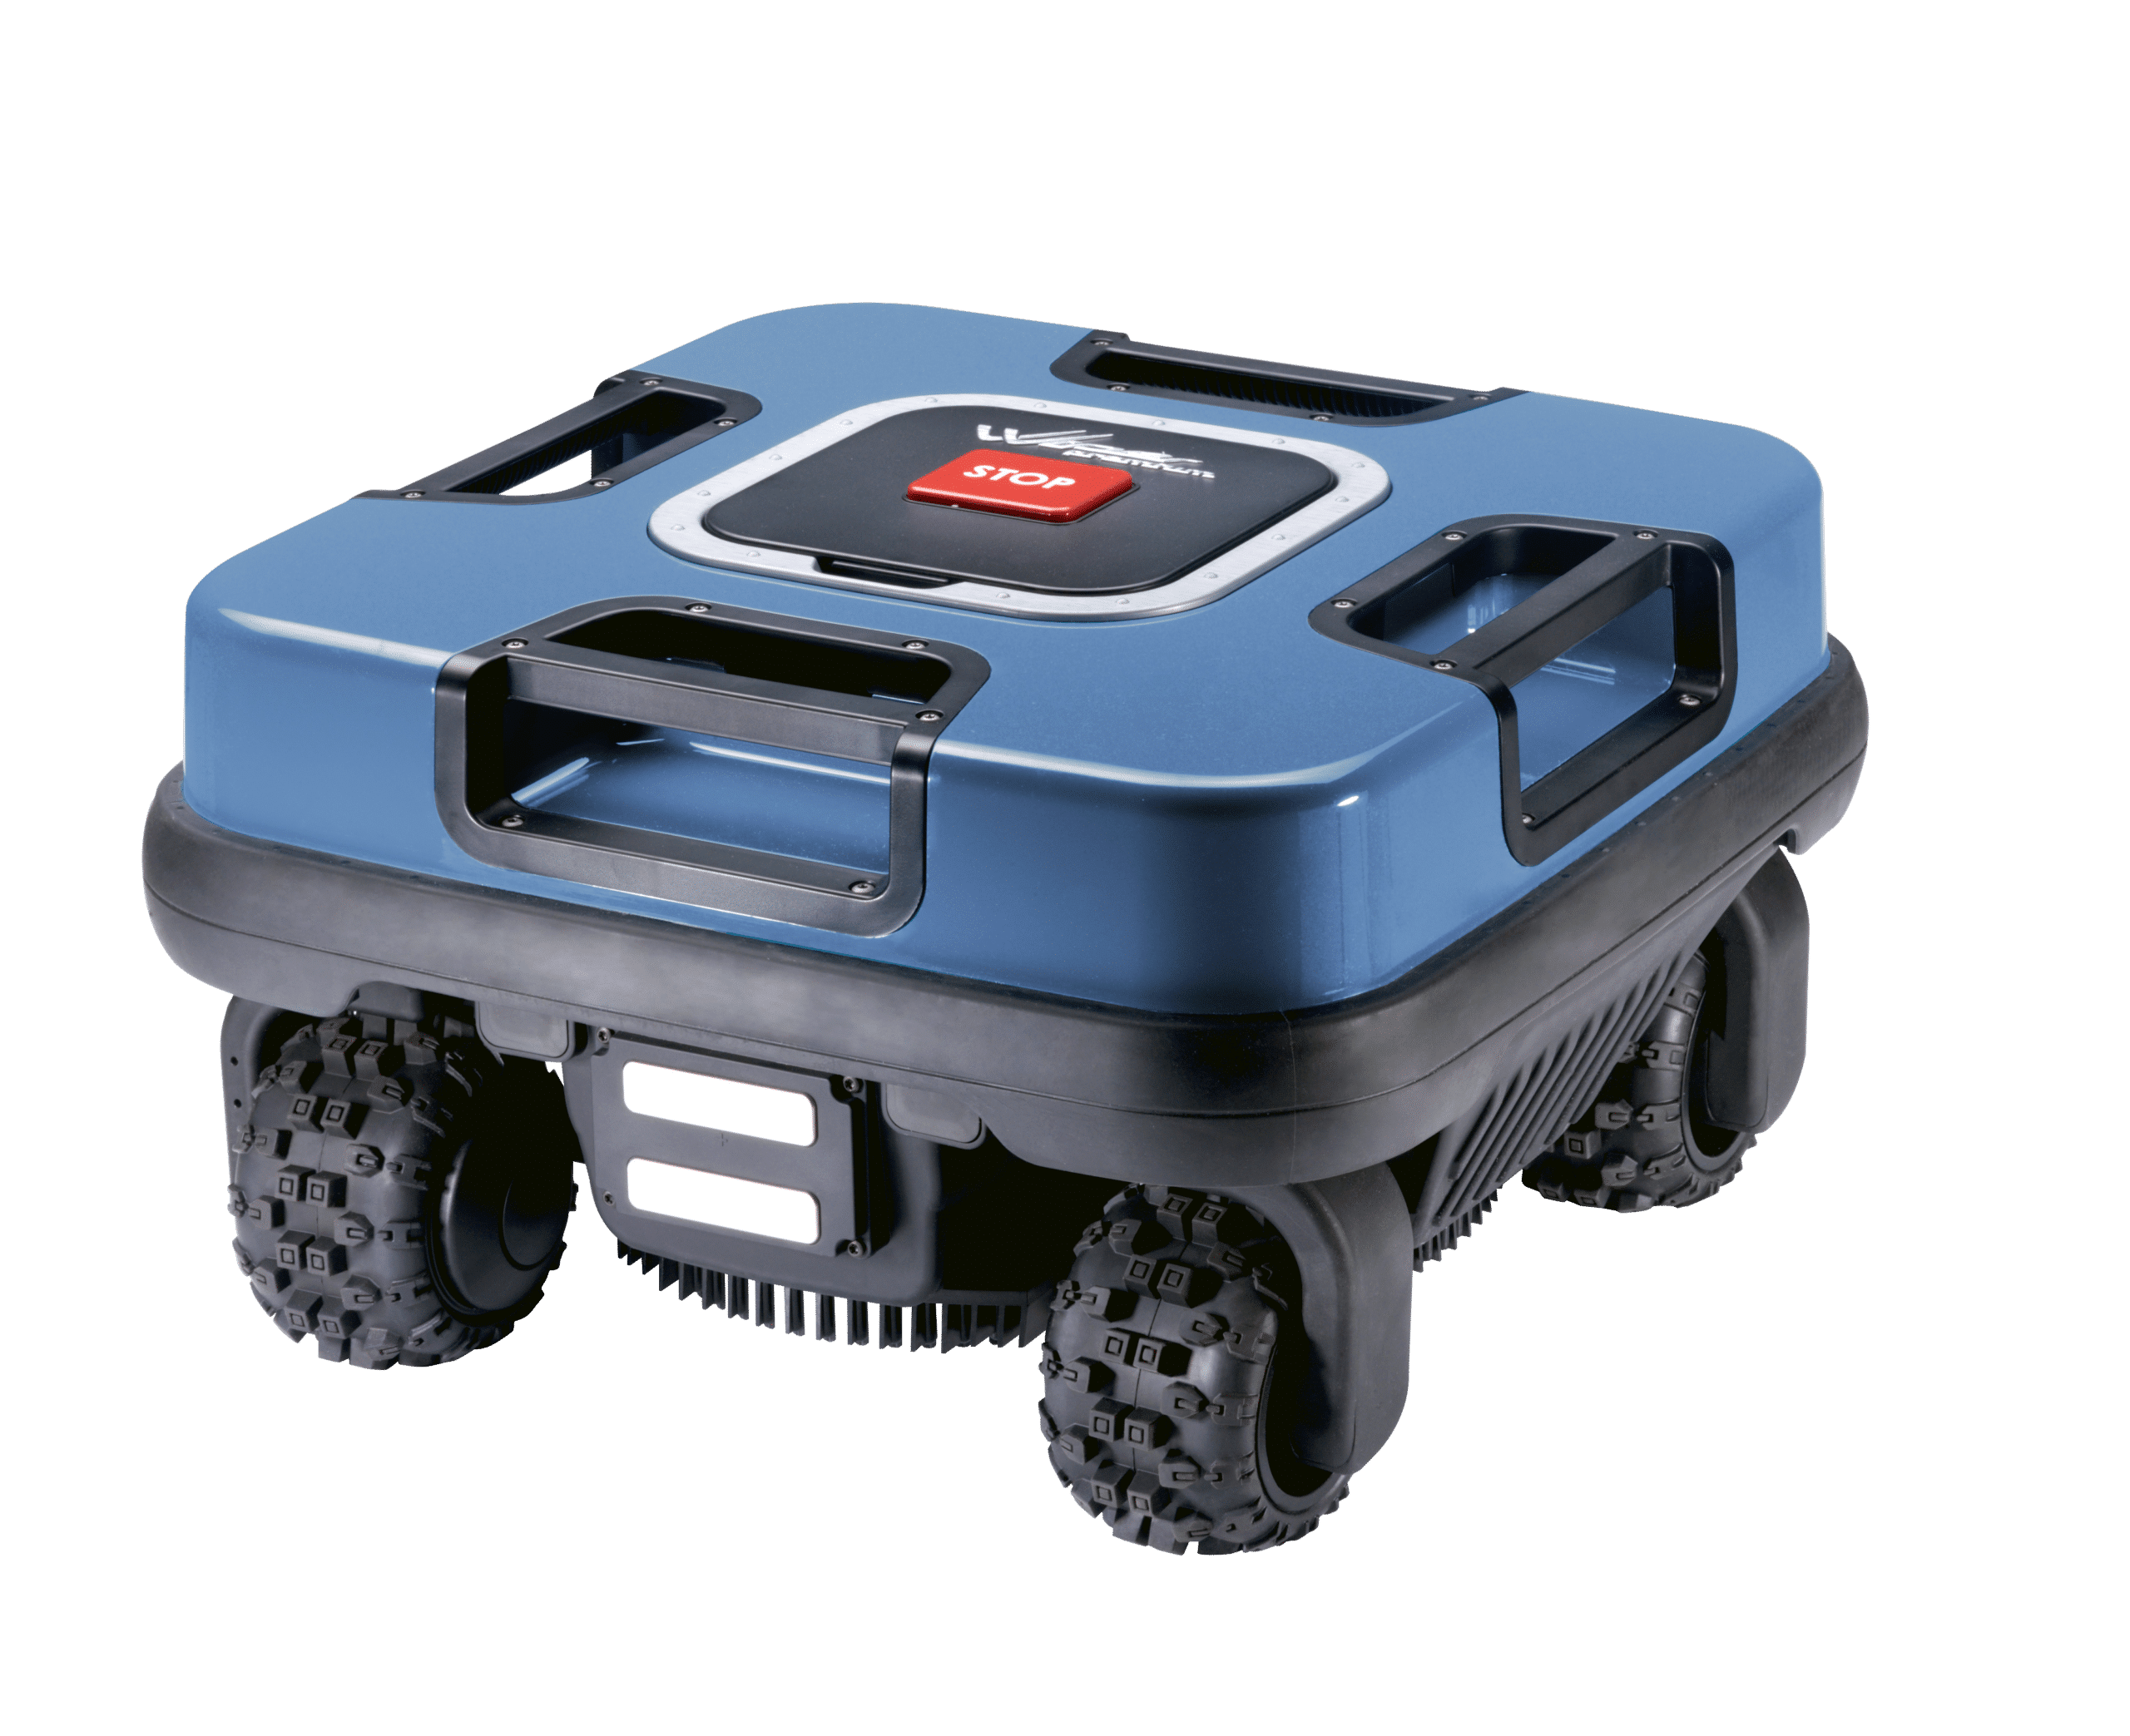
robotec R7 Max
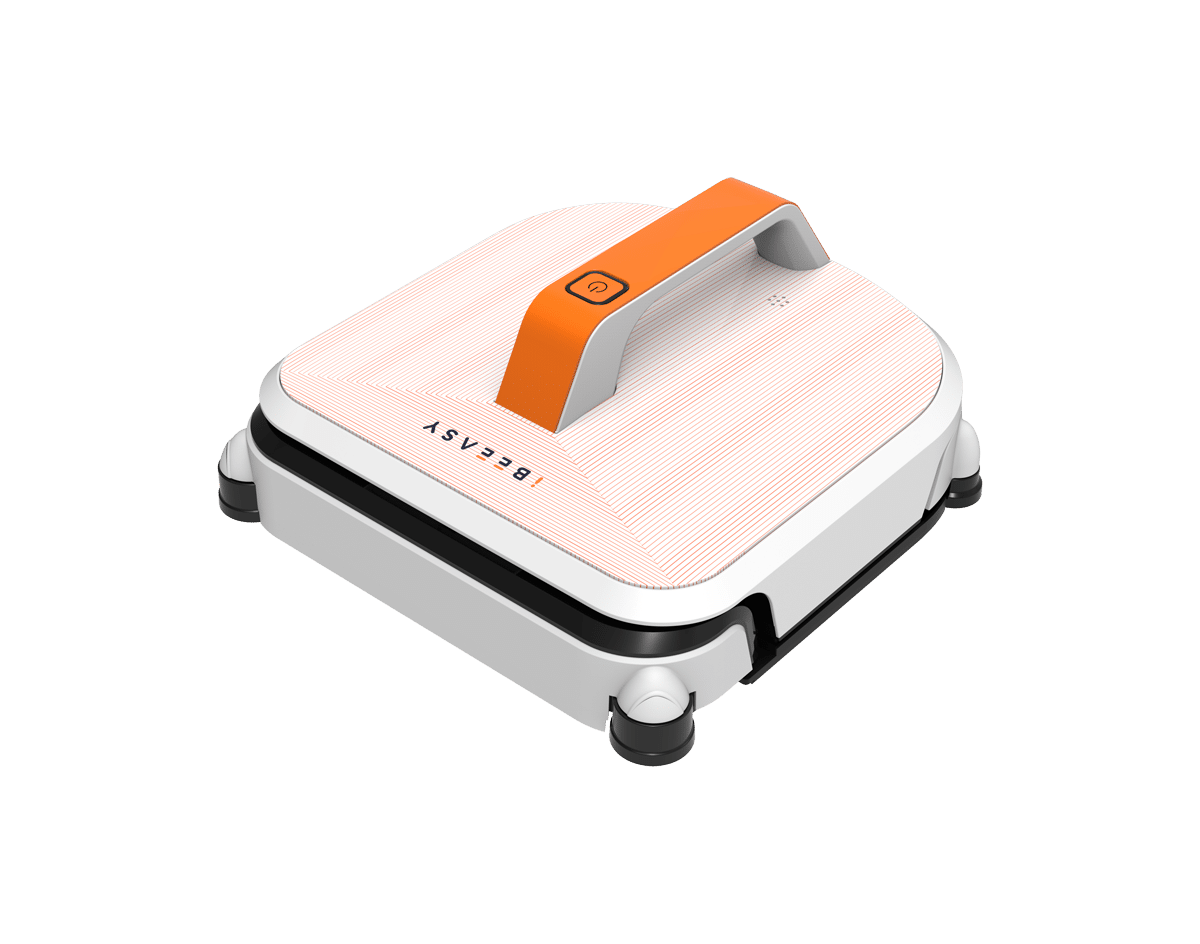
iBeeasy Winbee 770
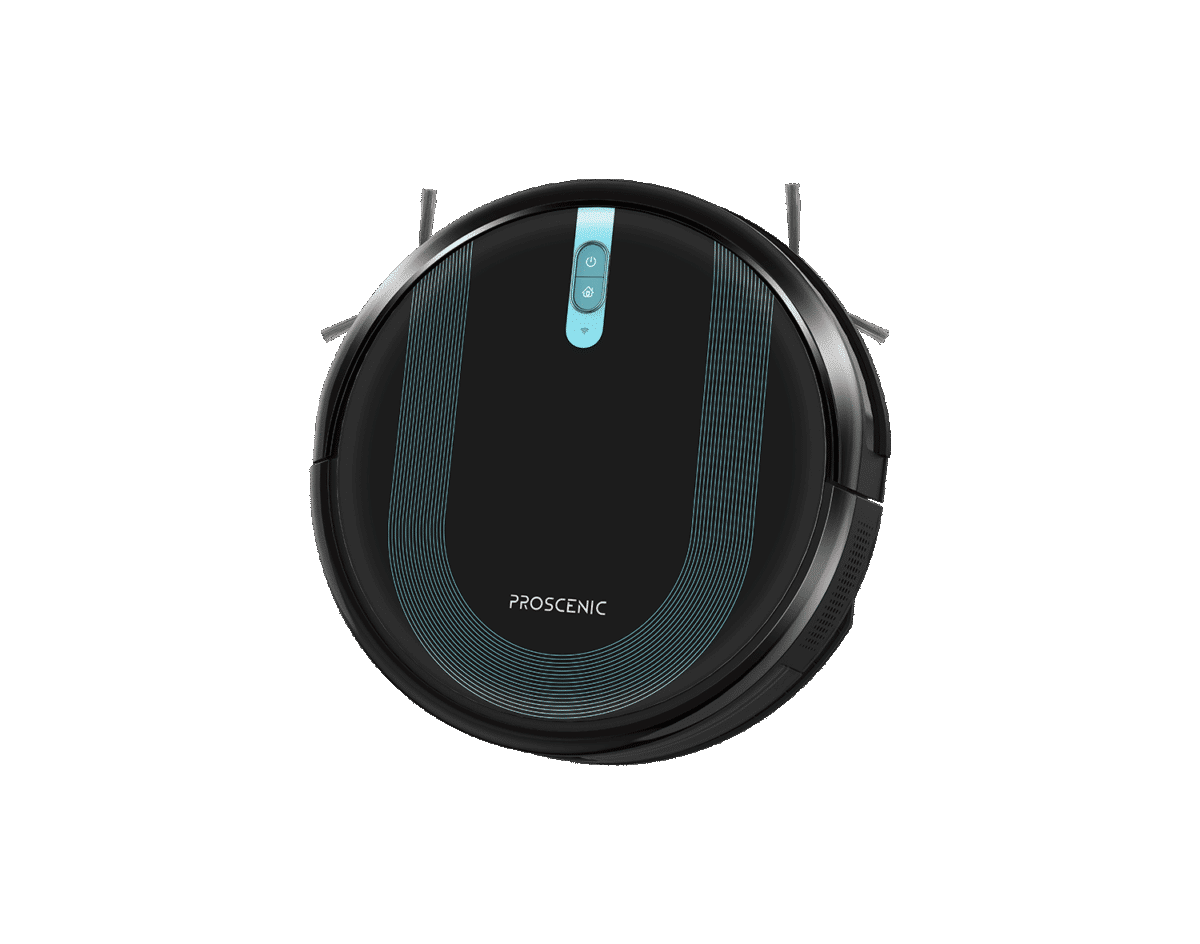
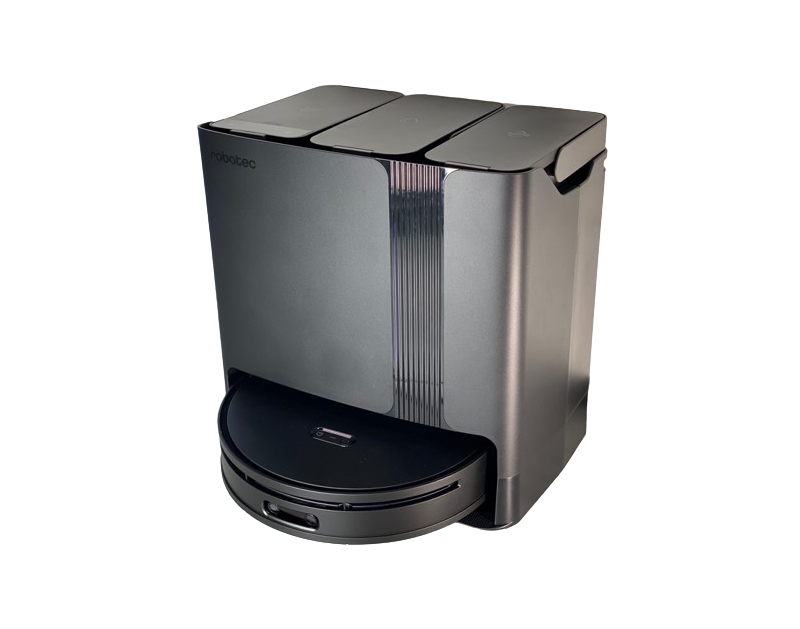
Proscenic 850T mini
Robotic lawnmower with installation. Full-service is the best solution.

In this post, we will review why to choose a robotic lawnmower with installation and the options we offer for this purpose. We will try to explain as simply as possible the advantages of professional installation over DIY and why we recommend getting a robotic lawnmower with installation in most cases.
Do you want an instant quote for a robotic lawnmower with installation? Then contact us here.
In which cases is professional installation not needed?
Let’s start with situations where you may not need our installation services, and it’s perfectly reasonable to lay the cable and set up the lawnmower yourself.
These situations typically assume that the mowing area is very simple for both the robot to operate on and for installation.
The mowing area should have the following characteristics:
- The mowing area should consist of a single open space.
- There should be as few obstacles requiring separation as possible.
- The lawn should be smooth and relatively flat.
Basically, the ideal situation is not to take a robotic lawnmower with installation when dealing with a newly landscaped plot. It should have a smooth and level surface, with no narrow strips or places where the robot would have a narrow path to access. The fewer obstacles on the plot, the better.
When installing a robotic lawnmower on your own, follow the instructions provided in the user manual. It’s important to remember that each installation is different, and it may not be possible to use all the guidelines everywhere.
In which cases should one choose a robotic lawnmower with installation?
It would be advisable to purchase a robotic lawnmower with installation when dealing with a more complex lawn area than previously mentioned, or if there is simply no desire to spend time reading the user manual, understanding it, and then installing it.
We have installed over 200 lawnmower robots and have seen various possible conditions. This provides us with the necessary knowledge and skills to tailor the installation to the specific site and ensure the efficient and effective operation of the robotic lawnmower.
In addition to installation, we always configure and test the lawnmower robot’s operation to ensure the best results. We always provide a warranty for our installations, so if anything should still require adjustment after installation, we will promptly return and address any issues.
How much does professional lawnmower robot installation cost?
The cost of robotic lawnmower installation generally depends on the complexity of the lawn area. We have provided some general prices that we apply for installations, but since each project is unique, we recommend contacting us before making a decision and seeking advice.
To do so, please fill out this form, and we will get in touch with you within 24 hours.
Installing a Wiper Robotic Lawn Mower Yourself
To install a robotic lawnmower yourself, we have created the following instructions. It’s worth mentioning that all Wiper robotic lawnmowers come with a detailed user manual that provides even more in-depth installation instructions and explanations for the user.
The first time you install a robot lawnmower, you may have many questions. The basic principles of setting up the charging station and boundary cable are quite straightforward, but when planning the installation, some uncertainties may arise. What should you consider when installing a robotic lawnmower?
When installing a Wiper robotic lawnmower with a boundary cable, you need to install two different components – the charging station and the boundary cable. It is most practical to first create a plan of your lawn area so that when the time comes, everything is well thought out and clear.
For this reason, we will begin by discussing the planning aspect before moving on to the installation instructions.
Before Installation
The first thing to do is to create a simple sketch of your garden to get an overview. This will assist in installing the perimeter wire and is also very helpful in determining the best location for the charging station.
The sketch provides a preview of where the wires should run during wire installation and highlights any obstacles and objects that may pose a particular challenge.
Next, gather the necessary tools for installation. You will need the following tools:
- Soft-headed hammer
- Wire cutters
- Property plan (optional)
It’s advisable to use a special soft-headed hammer to prevent cable damage and micro-cracks that can lead to cable breakage over time due to weather conditions.
Charging Station Installation
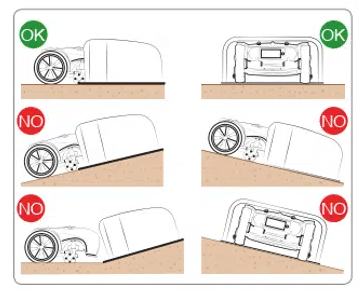
Choosing the correct location for the charging station is crucial, as it can prevent many potential issues. When selecting the location for the charging station, consider the following points:
- The surface should be level.
- There should be no slopes or inclines nearby.
- The station should not be placed in a corner or niche.
- The power outlet should be within reach (the length of the power cable varies by model, typically 10 – 20 m).
- The station should be positioned so that it’s possible to run the cable at least 2 m directly from the direction where the robot lawnmower enters and exits.
- To protect the robot lawnmower and its battery, it’s best if the station is not in direct sunlight.
- The location should be near the area with the largest mowing surface.
- Do not place it outside the grassy area.
Not all of these aspects are always easy to consider when choosing the location. However, one of the most critical points is the proximity of the power outlet. The power cable that comes with robot lawnmowers may be as short as 3–5 meters.
It’s also essential to place the charging station on a level surface, away from slopes or inclines, as this can cause docking issues. Ideally, the base plate of the charging station should be positioned so that its front edge is on the grass, if possible. The rear of the station can be placed outside the grassy area.
Additionally, ensure that there is at least one meter of space to the left or right of the station for the boundary cable to run directly away from the station. Leave enough space in front as well because the guide wire should run in a straight line from the charging station for at least 2 meters, allowing the robot lawnmower to return to the station without problems.
Ideally, the charging station should be placed under a canopy, an outdoor table, or a similar structure. This will protect the robot lawnmower from rain and other weather conditions. If this is not possible, choose a shaded location to shield the robot lawnmower from direct sunlight.
If there is no suitable shelter in the garden, you can consider purchasing a shed or cover for the robot lawnmower or charging station. Of course, you can also create a suitable solution yourself.
Planning and Installing Boundary Wires
How does the boundary wire work?
The robotic lawnmower needs to know in which area it is allowed to mow. The robot detects the boundaries with the help of a boundary wire. This wire is an induction loop placed around the lawn. It carries a weak electric current, creating an electromagnetic field. When the robotic lawnmower crosses over this wire, it can detect, using special magnetic sensors, that it has come into contact with the wire and immediately turns back.
The wire can be installed on the surface of the ground or buried underground. The beginning and end of the wire are connected to the charging station, where it receives power. The charging station should be placed in a suitable location, not too far from a power outlet.
Preparation
The installation of the boundary wire should be well-planned, taking several factors into account. You should also consider whether to place the boundary wire on the surface of the ground or bury it. For beginners, it is recommended to initially place the boundary wire on the ground, as it makes it easier to make corrections later.
In the beginning, you can observe the robotic lawnmower in operation for a few weeks. If you are satisfied with the results, especially along the edges of the lawn, you can consider burying the boundary wire.
Before continuing with further planning, walk through the entire lawn area and create a sketch. This will make planning the placement of the boundary wire much easier. In addition to the outer edge of the lawn, consider any obstacles within the lawn area that need to be marked. How this works in practice is explained below.
Now, you can proceed with the following actions. Here are some important things to keep in mind:
- Mow the Lawn: Before installing the boundary wire, it’s advisable to mow the lawn. This makes the installation of the boundary wire much easier. Additionally, robotic lawnmowers are designed to maintain a continuously mowed area rather than cut long grass.
- Avoid Wire Crossings: It’s crucial to avoid wire crossings. During planning and installation, ensure that the wire does not cross at any point. This is especially important when creating islands within the mowing area. We’ll discuss islands in more detail below.
- Consider Nearby Robotic Mowers: Another often overlooked aspect is the presence of other robotic lawnmowers nearby. For example, if your neighbor has a robotic lawnmower, their frequencies may interfere with each other. In such cases, you may need to adjust the transmitter and receiver settings to prevent interference. This can be addressed as needed to resolve any issues that may arise.
Now, you can proceed with the boundary wire installation while keeping these considerations in mind to ensure a smooth and effective operation of your robotic lawnmower.
Distance Planning
For this, you will need a measuring stick, which is often included with the lawnmower. This measuring stick typically has three different distances marked, depending on the object from which you need to measure the distance. Below are the typical distances you should choose. The distances do not vary significantly between Wiper robotic lawnmower models, but in case of doubt, consult the user manual.
Choosing the Right Distance: It’s essential to select the correct distance from the edge for the boundary wire. Depending on whether the edge of the lawn is defined by a path, flower bed, or wall, you’ll need to choose a different distance from the boundary wire to the edge.
Paths and Courtyards
For paths, courtyards, or other ground-level surfaces, you can choose the smallest distance between the boundary wire and the edge, which is typically 10 cm. This allows the robotic lawnmower to mow right up to the edge, creating a very clean border.
Gravel Paths, Flower Beds, and Hedges
A slightly greater distance of 30 cm is necessary for bordered flower beds, gravel paths, or paved surfaces that are slightly lower or higher than the lawn. This distance helps prevent the lawnmower blades from damaging these surfaces. The same distance should be chosen for hedges. A 20 cm distance can be considered for flower beds, but it’s essential to ensure that the flower bed does not interfere with the lawnmower blades.
Fixed Objects
The largest distance should be chosen for fixed objects such as walls, stone edges, large pots, etc. Here, a minimum distance of 35 cm is recommended.
Power Cables
There should be a distance of at least 40 cm from power cables. Power cables can interfere with the robotic lawnmower since they also generate an electromagnetic field. Additionally, for safety reasons, the lawnmower should not get too close to any power cables.
By selecting the appropriate distance based on the specific features of your lawn, you can ensure that the robotic lawnmower operates efficiently while avoiding potential obstacles and maintaining a well-defined mowing area.
Boundary Wire for Multiple Areas
Some gardens consist of multiple areas, or they have shapes that make it challenging to access certain parts of the garden. A robotic lawnmower can mow more than one area only if they are connected. In such cases, you need to consider whether one of the two areas is an adjacent area or a separate area.
Different surfaces refer to areas where the connecting corridor is narrower than 2 meters. If one of the two areas is smaller than the other, it is marked as an “adjacent area.” However, if the corridor is narrower than 70 cm, it may pose challenges for models designed for multiple areas.
Programming the Robotic Mower for Multiple Areas
A robotic lawnmower designed for multiple areas usually needs to be programmed specifically for those areas. To do this, you must specify the dimensions of the different areas so that the robotic lawnmower knows the size relationship between the areas. Some models do this with a percentage value, while others use the perimeter of the areas.
By programming the robotic lawnmower accordingly, you ensure that it can effectively navigate and mow multiple areas within your garden, even if they have varying sizes or layouts.
Installing the Boundary Wire – Let’s Get Started!
Before you begin, make sure the following items are ready:
- Boundary Wire: You cannot install it without the wire, of course. But is it long enough? According to your installation plan sketch, you can calculate how long the wire should be. If it’s not long enough, you’ll need to extend it using cable connectors and additional wire.
- Ground Pegs: Also known as anchoring pegs, these are used to secure the boundary wire to the ground. They can be used both on the surface and for burying the wire underground. Ground pegs are usually included with the lawnmower.
- Connector Clamps: Often, connector clamps are included with the lawnmower. These are used to connect the boundary wire and the guide wire. They can also be used to extend wires if needed.
- Distance Measuring Tool: Most robotic lawnmowers come with a foldable ruler or measuring tape in the packaging. This tool helps you measure the required distance from the edge of your yard when installing the boundary wire.
Once you have these items ready, you can proceed with the installation of the boundary wire, ensuring that it is properly secured, correctly measured, and follows the layout you’ve planned for your garden.
Instructions for Placing the Boundary Wire on the Ground
As mentioned earlier, the boundary wire can be placed on the surface of the ground or buried underground. However, to initially test whether everything is done correctly and to ensure satisfactory mowing results, it is recommended to leave the wire on the ground for a few weeks and observe the robotic lawnmower’s performance.
Advantages and Disadvantages of Ground-Level Installation:
Advantages:
- Easy Installation: Simple to install.
- Easy Adjustments: Simple to make corrections if needed.
- Grass Growth: Grass will grow over it over time, making it less visible.
Disadvantages:
- Tripping Hazard: Potential risk of tripping.
- Potential Damage: Risk of the robotic lawnmower damaging the wire in case of poor installation or if the wire extends too far. Also, it may not be as aesthetically pleasing.
Before installing the wire on the ground, it’s advisable to mow the lawn one last time. This makes the wire installation easier. In any case, before using the robotic lawnmower, you should mow the lawn once if the grass exceeds a certain height; otherwise, the robotic lawnmower may struggle or the cut grass may not be suitable for mulching.
The installation of the boundary wire starts from the charging station but does not connect to it. Leave it about half a meter away to allow room for adjustments. Only connect the boundary wire to the charging station at the end. In the meantime, secure the wire with a hook next to the charging station.
It’s essential to keep the wire taut during installation to prevent it from lifting off the ground in any part of the lawn. Special hooks are used to secure the wire to the ground.
To ensure the wire remains close to the ground, you should attach a hook approximately every 50 cm. In more complicated areas like curves, the distance between hooks should be slightly shorter, and on straight sections, it can be slightly longer.
In any areas where there are irregularities causing the wire to lift off the ground, additional hooks must be pushed into the ground. Otherwise, there is a risk of the lawnmower blades cutting the wire during mowing.
Always make sure that the chosen distance from the edge is as indicated on the plan. Depending on the nature of the boundary, different distances should be selected, as described earlier. A measuring stick, which is usually included in the package, can be used to measure the distance.
In the end, you should only cut the protruding wires and connect them to the charging station. Then, you can secure the charging station to the ground with screws, but this should be done only after installing the guide wire, as described below.
Instructions for Underground Installation of the Boundary Wire
As mentioned earlier, it’s advisable to initially install the wire on the ground and observe the robotic lawnmower’s performance for a few weeks before burying the wire underground. If the results are satisfactory, you can proceed with burying the wire.
Advantages and Disadvantages of Underground Installation:
Advantages:
- Protection: The wire is protected from potential damage by the robotic lawnmower or adverse weather conditions.
- No Tripping Hazard: There is no risk of tripping over the wire as it is hidden underground.
- Aesthetic Appeal: The wire is not visible, enhancing the lawn’s appearance.
Disadvantages:
- Complex Installation: Underground installation is more complex and time-consuming.
- Difficult Repairs: Making later adjustments or repairs can be challenging.
To install the wire underground, you should initially place the boundary wire and guide wire a few centimeters below the surface of the grass. A lawn edger or a spade can be used for digging a shallow trench. For a more professional approach, a cable installation machine can be used. However, these machines come with significant additional costs, so they are typically used by specialists entrusted with cable installations more frequently.
Creating Islands in the Mowing Area
It’s very likely that your yard has obstacles that cannot or should not be removed, or areas that should be avoided, such as flower beds. These areas or obstacles can be relatively easily excluded from the mowing area.
Why exclude certain areas?
There are two main reasons to exclude certain areas or obstacles. Firstly, the robotic lawnmower may not recognize certain areas. For example, the lawnmower might simply drive into a flower bed located in the middle of the yard if it’s not excluded.
Large obstacles that the lawnmower collides with won’t cause any harm to the lawnmower, but frequent collisions can slow down the mowing process. Additionally, it’s better for the lawnmower to avoid frequent collisions.
What obstacles should be excluded?
All obstacles, objects, and areas that are permanently in the same place should be excluded from the mowing area. These include flower beds, large pots, trees or shrubs, roots protruding from the ground, ponds, sandboxes, fountains, pools, or other immovable outdoor decorations.
For ponds without an edge, it’s particularly important to be cautious in excluding them from the mowing area. During the first working hours of the lawnmower, you should carefully monitor whether the boundary is working, and if in doubt, you can add obstacles.
How to create islands in the mowing area?
Creating an island is quite simple. In principle, it involves leading the boundary wire from the outer edge in a straight line to the area where mowing is excluded or an obstacle is located. Once the wire has encircled the excluded area, it should be led back in exactly the same way, parallel to the boundary wire leading to the excluded area. The electromagnetic fields of parallel wires cancel each other’s signals, allowing the lawnmower to move through the grass between the edge of the yard and the island. It’s crucial that the wires do not cross.
To create an island, follow these simple instructions:
- Place the boundary wire from the edge of the grass to the obstacle.
- Lead it around the obstacle once.
- Guide the wire back the same way it came, without crossing the wires.
- Make sure that the boundary wires are close together, precisely parallel to each other, and secure both wires with the same ground hook.
Detecting Cable Damage
Cable damage can occur, for example, if the cable clamp is not properly secured. An above-ground cable can easily break if the robot itself damages it. In such cases, the charging station will emit a beep as a signal.
Identifying this type of damage is relatively simple. You can use an AM radio to walk through the entire length of the cable. An AM radio emits a continuous sound when communicating with the boundary cable, but at the point where the cable is broken or damaged, the sound suddenly becomes quieter or disappears altogether. In this case, you should simply excavate the cable, and you’ll usually locate the problematic area immediately. If the cable is damaged, you can properly connect it with a cable clamp. If the cables are within the cable clamp, make sure they are inserted correctly.
Summary
Installing a robotic lawnmower is not overly difficult when dealing with a simple yard, provided that you consider all the essential points. It’s always a good idea to plan everything carefully and create a sketch before you start the installation process. In particular, pay attention to the distances to be selected between different edges.
It is advisable to initially place the cable on the ground, observe the robotic lawnmower for a few weeks, and then bury the boundary cable underground if the results are satisfactory.
If your yard has obstacles or areas where the robot should not cross, you can easily create islands with the boundary wire, which the robot will avoid during mowing.
If you want a quote for a robotic lawnmower with installation, you can contact us here.